Description
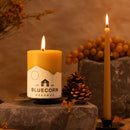
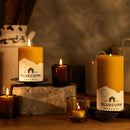
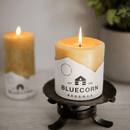
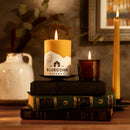
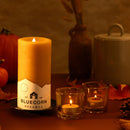
100% Pure Beeswax Candles with a Cotton Wick
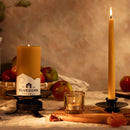
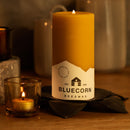
Many raw beeswax pillar candles have difficulty burning because the particulate in beeswax clogs the wick, resulting in a weak flame and tunneling. Our 100% pure beeswax pillars will burn perfectly because we lightly filter our crude beeswax and carefully choose the right wick. Light filtration takes out just the right amount of particulate while keeping the sweet honey scent and gorgeous natural color intact.
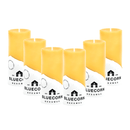
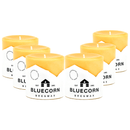
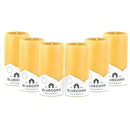
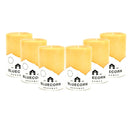
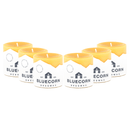
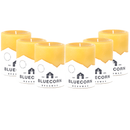
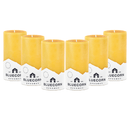
Love our pure beeswax pillars? Save carbon and cash with our bulk beeswax pillar 6-packs!
This listing is for raw, unscented beeswax pillars only. Our white beeswax pillar candles can be found here, our colorful beeswax candles can be found here, and our scented pillar candles made with beeswax and essential oils can be found here.
Features
- 100% Pure Raw Beeswax
- Handmade in Colorado since 1991
- Premium grade, domestic and sustainable cappings beeswax
- Ridiculously long burn times
- Clean burning and non-toxic
- Cotton wick - no lead or metal
- Average TOTAL burn times for our pillars (see Candle Care pamphlet/ instructions on bottom of candle for tips to get the best and longest burn from your beeswax candle):
- 2" x 3" ~25 hours
- 2" x 4.5" ~36 hours
- 3" x 3" ~50 hours
- 3" x 4" ~60 hours
- 3" x 6" ~90 hours
- 4" x 6" ~180 hours
- 4" x 4" ~120 hours
- 4" x 8" ~240 hours
Dimensions & Care
2” Dia. Pillars:
- Trim wick to 1/4" before each lighting.
- To avoid dripping, burn for only 1 hour at a time.
- To eliminate smoke when extinguishing the flame, use a tool to drip wax from the molten pool onto the burning wick.
- Trim wick to 1/4" before each lighting.
- To avoid tunneling, burn for at least 3 hours per burn and mold the warm sides in toward the flame. This will melt the walls, utilizing all of the available fuel, and thus extend the overall burn time. It will also raise the molten wax level, and shrink any over-sized flame.
- To prevent uneven burning and potential dripping, use a metal tool to redirect a curled or angled wick to the opposite direction. To prevent wick breakage when doing this, be sure to nudge the wick below the level of the molten pool where the wick is not burned and thus stronger.
- To eliminate smoke when extinguishing the flame, use a tool to drip wax from the molten pool onto the burning wick.
- Trim wick to 1/4" before each lighting.
- To avoid tunneling, burn for at least 5 hours per burn and mold the warm sides in toward the flame. This will melt the walls, utilizing all of the available fuel, and thus extend the overall burn time. It will also raise the molten wax level, and shrink any over-sized flame.
- To prevent uneven burning and potential dripping, use a metal tool to redirect a curled or angled wick to the opposite direction. To prevent wick breakage when doing this, be sure to nudge the wick below the level of the molten pool where the wick is not burned and thus stronger.
- To eliminate smoke when extinguishing the flame, use a tool to drip wax from the molten pool onto the burning wick.